> For the complete documentation index, see [llms.txt](https://docs.akto.io/llms.txt). Markdown versions of documentation pages are available by appending `.md` to page URLs; this page is available as [Markdown](https://docs.akto.io/traffic-connector/api-gateways/envoy-1.md).
# Connect Akto with Istio
If your API calls are being routed through Istio service mesh, you can use Akto's Istio filter to send traffic to Akto dashboard. Below guide will help you do this:
## Creating AWS Policy
1\. Go to Quick Start on your Akto dashboard and expand the `Connect traffic data` section.
2\. Scroll down to `Data processors setup` section.
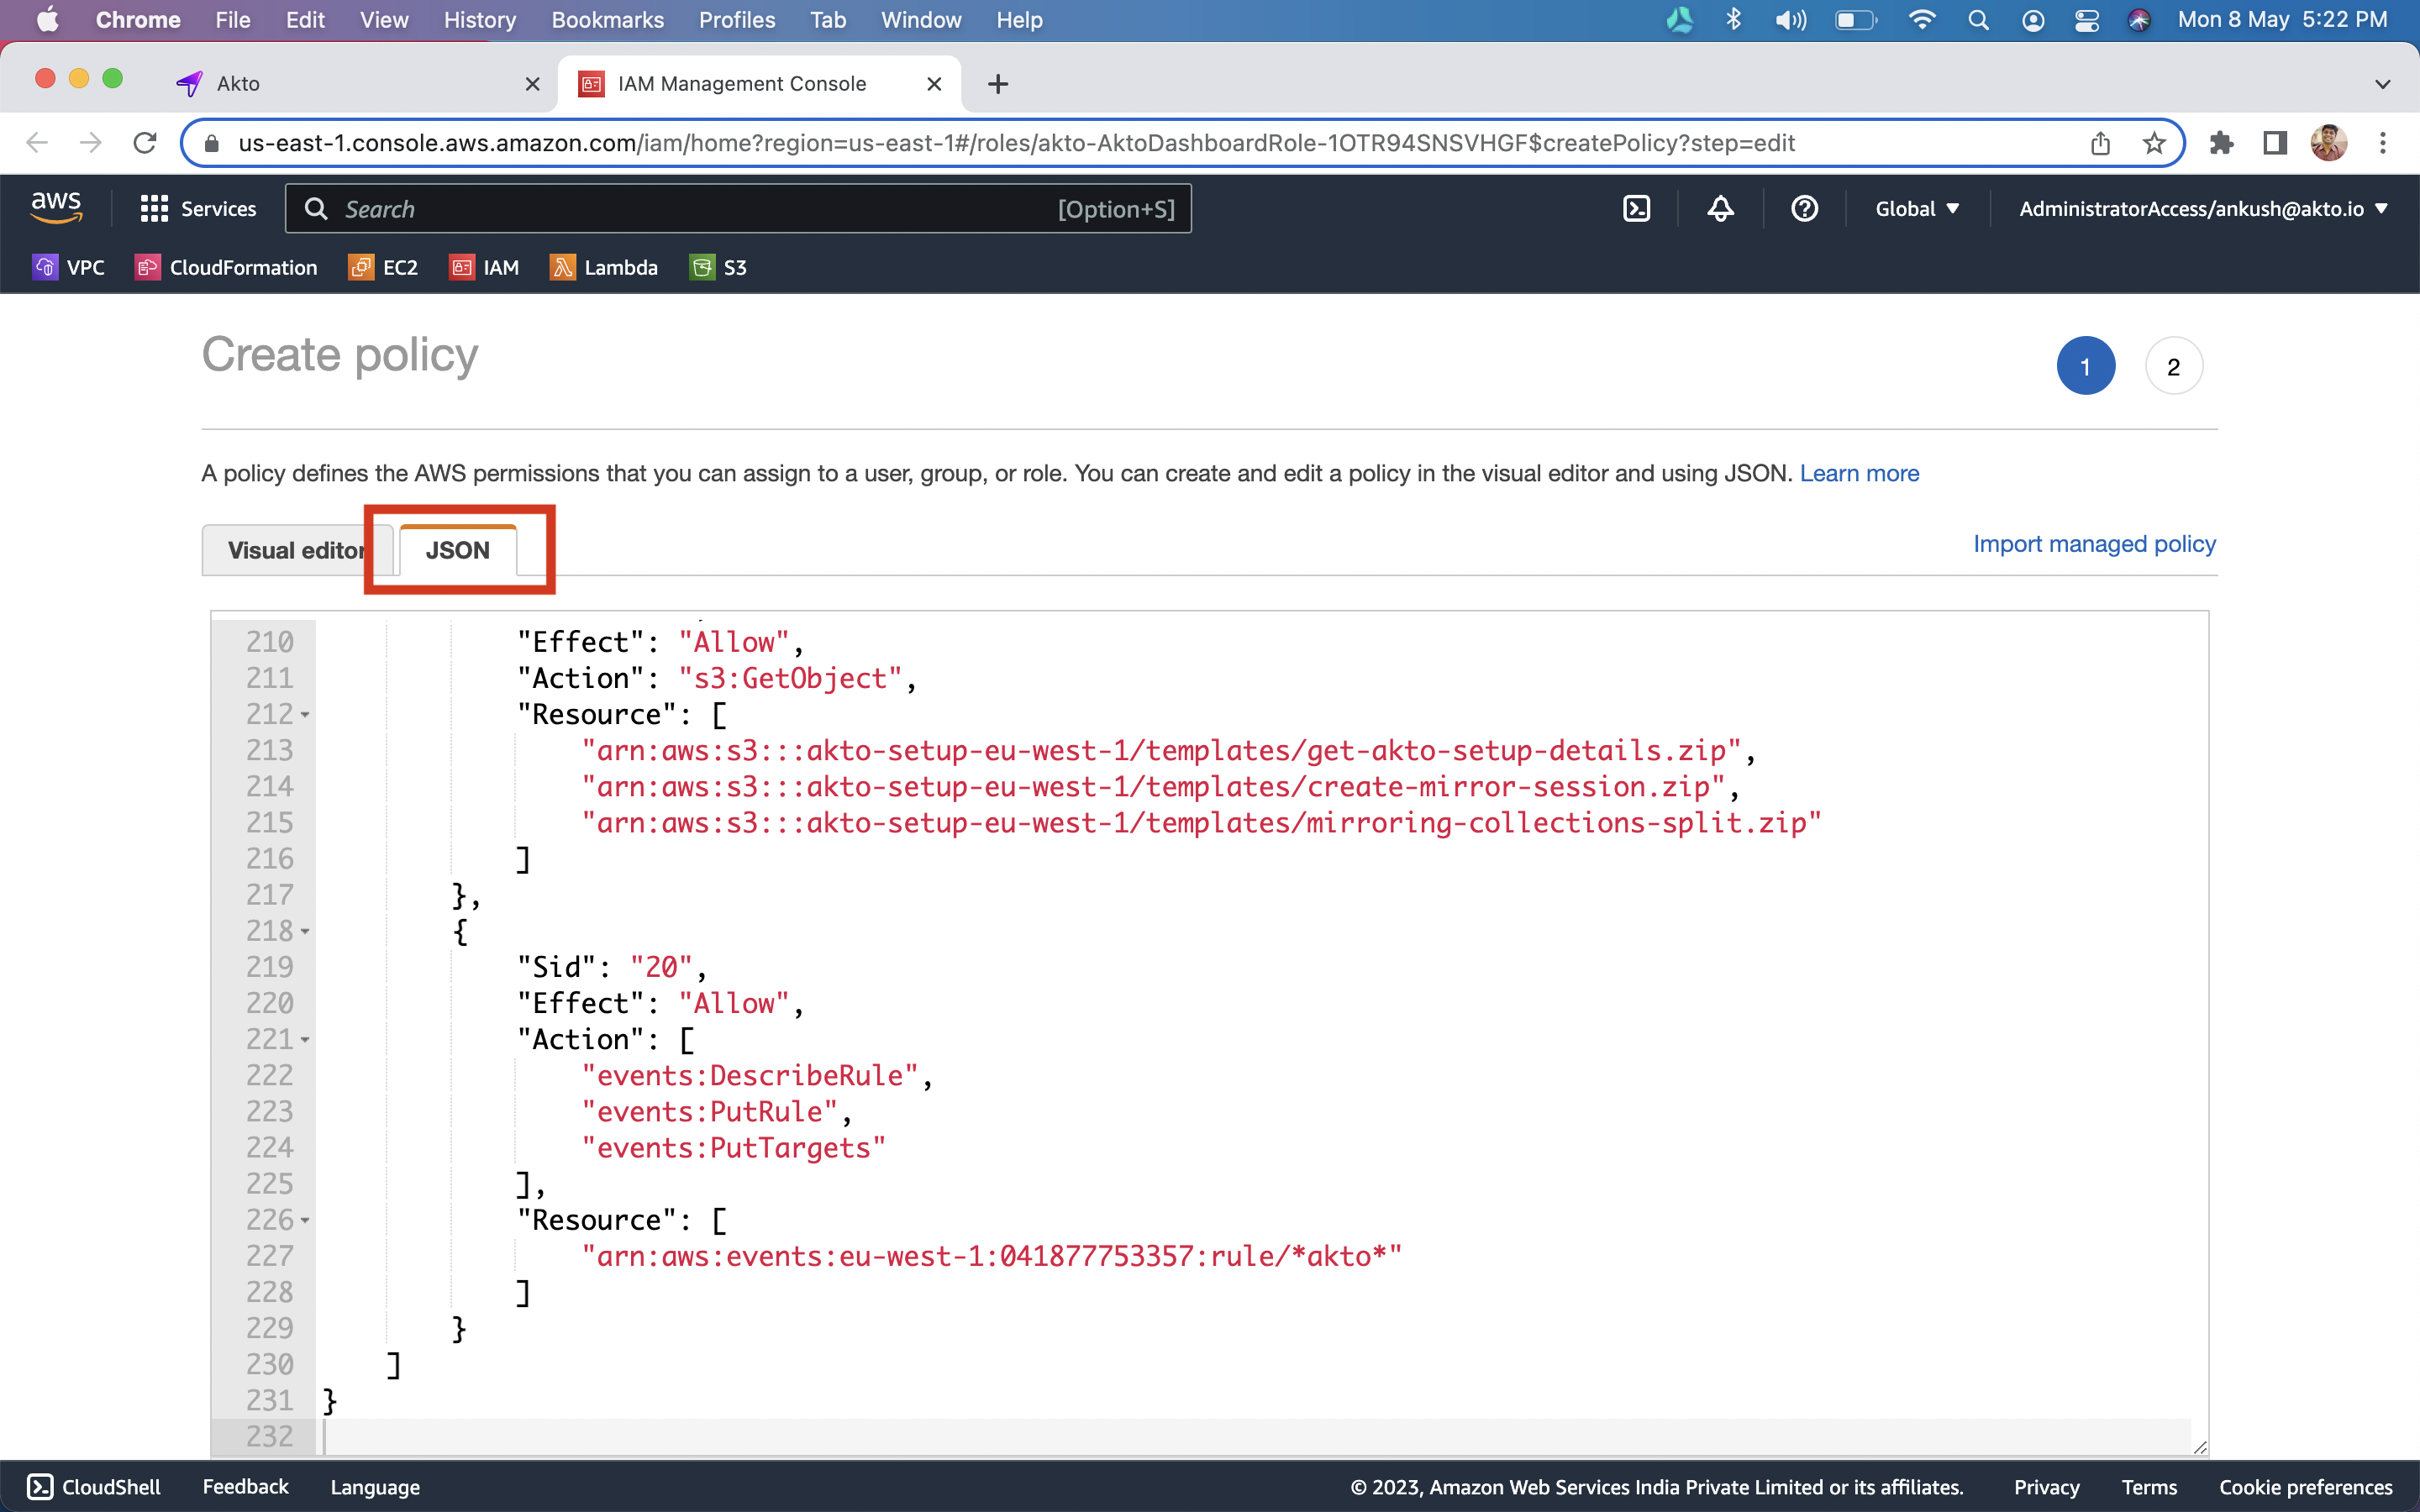
3\. Copy the `policy json` and click on the Akto Dashboard role link.
4\. `Click` on the `JSON` tab and `paste the policy`
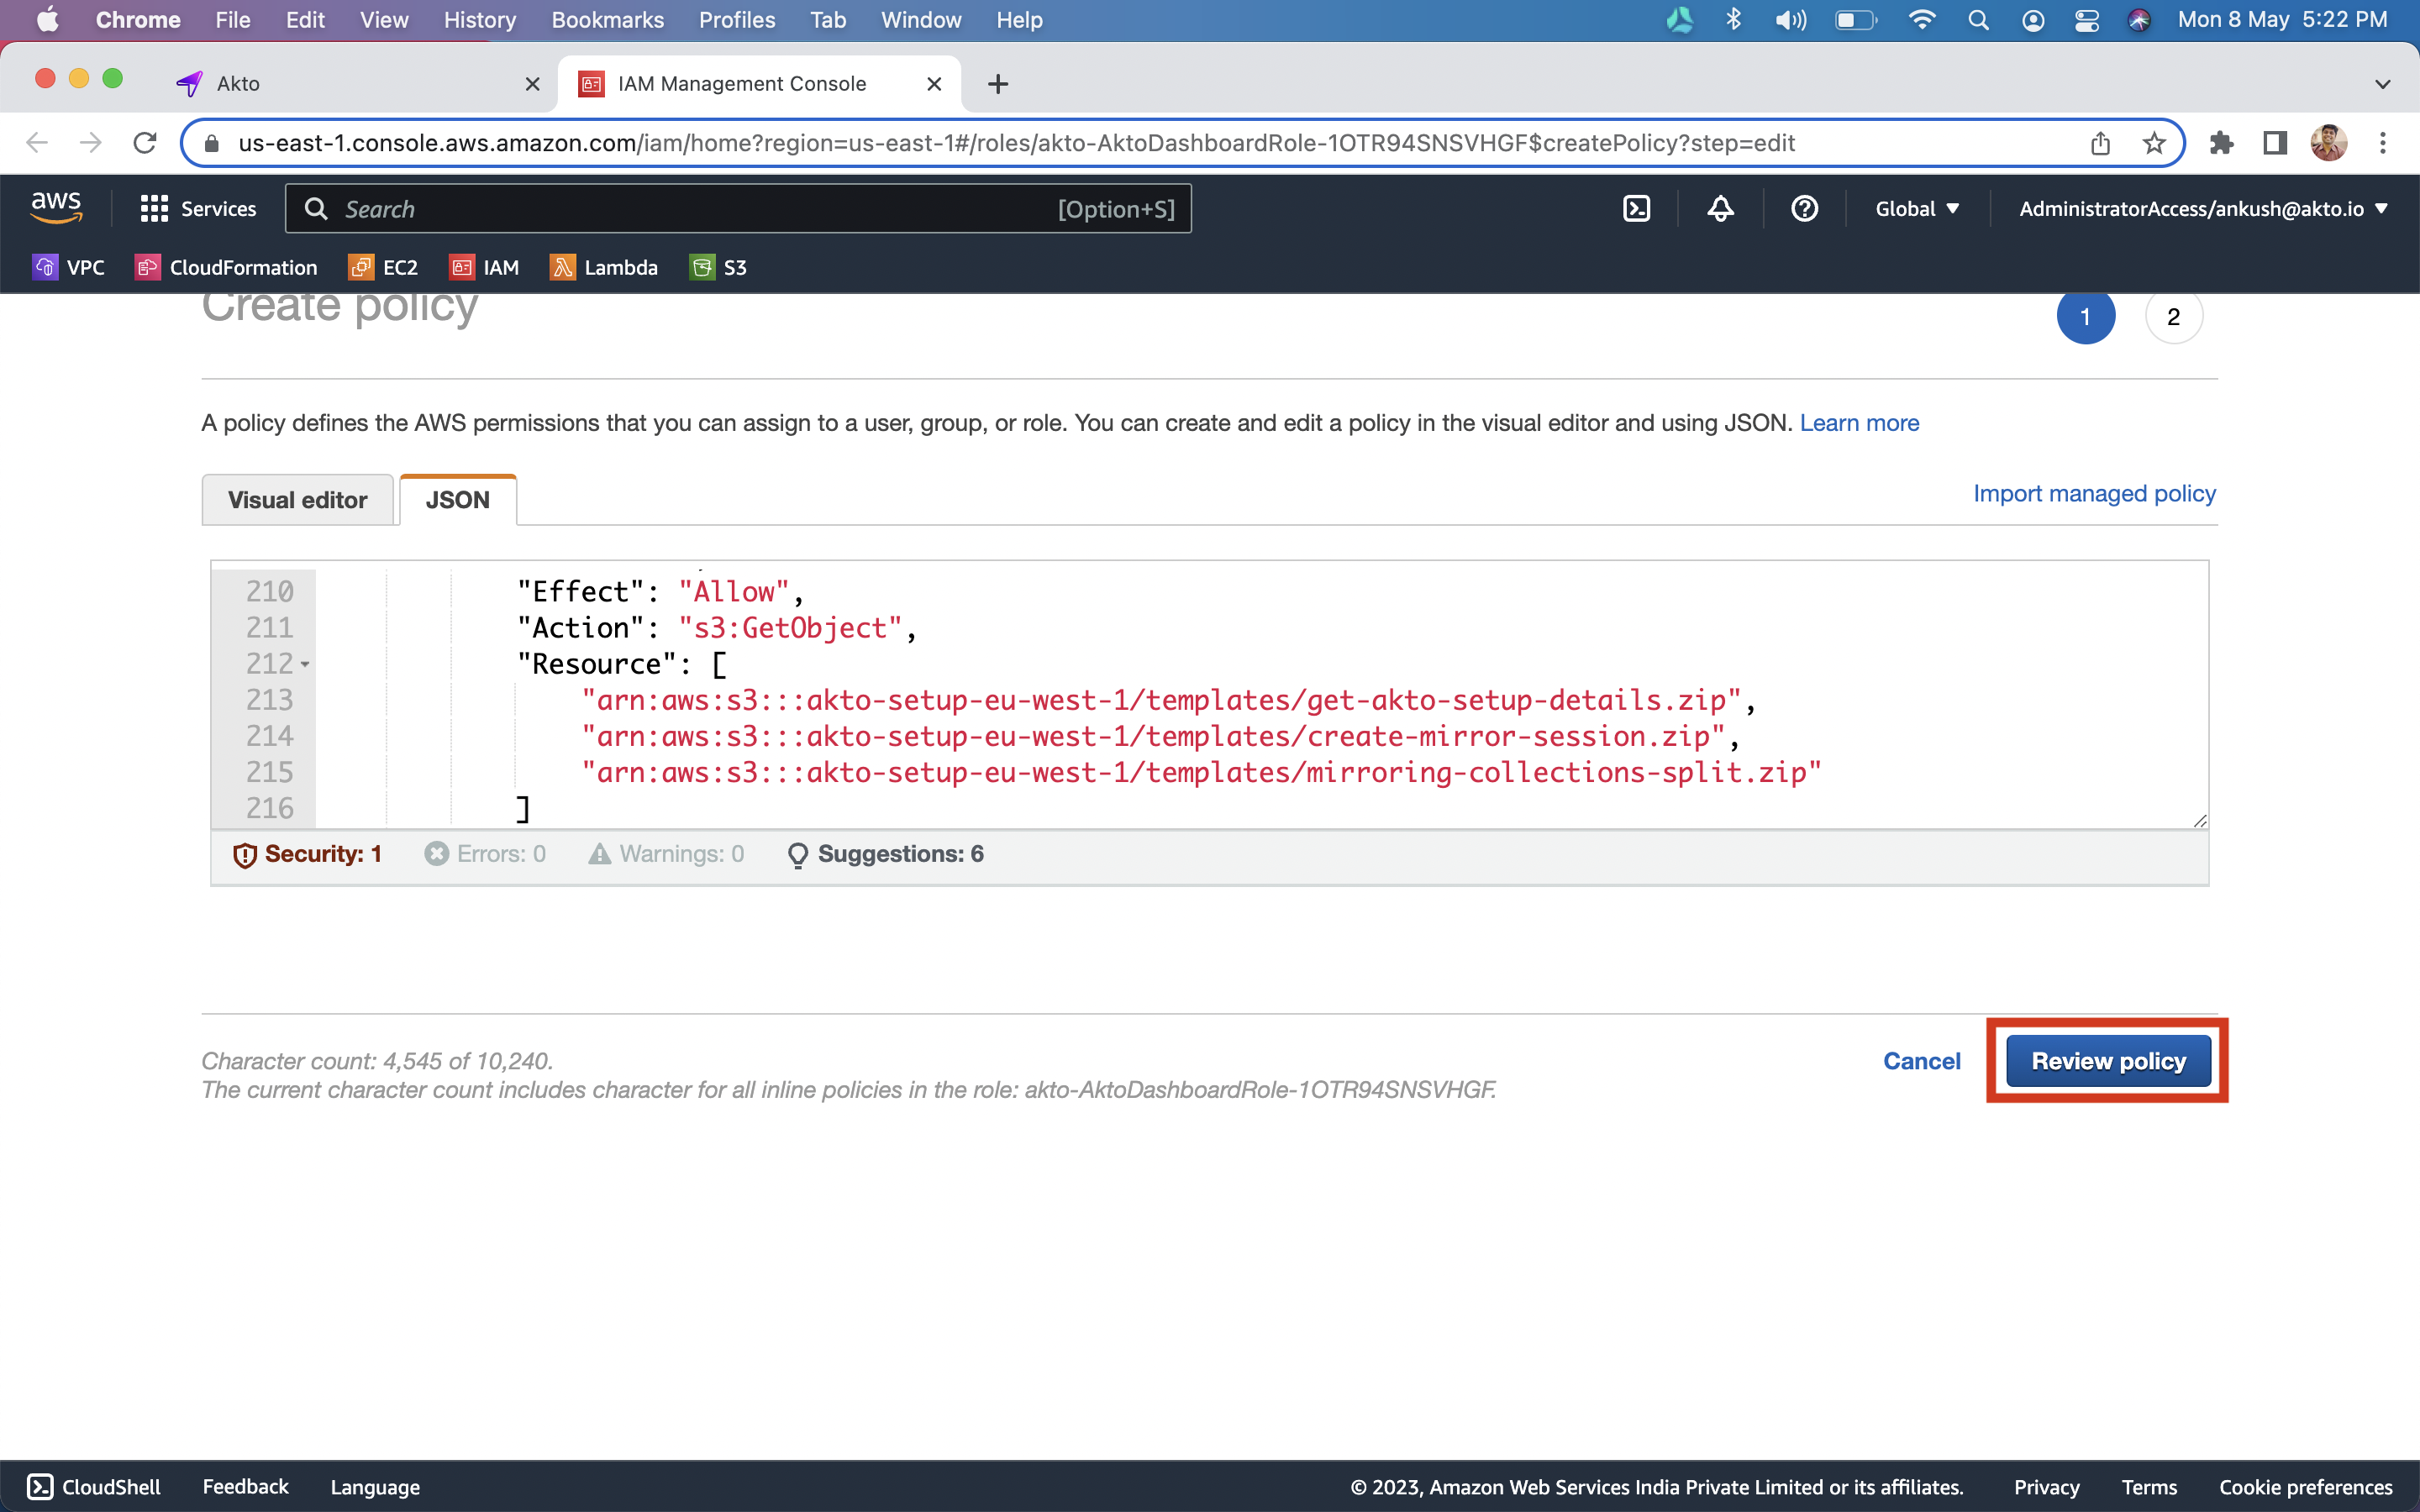
5\. Click on `Review policy` button.
6\. Enter *`AktoDashboardPolicy`* as the policy name and `click` on `Create Policy` button
8\. Once the policy is created, go back to the `dashboard`.
## Setting up Data processors
1\. Click on `Setup traffic processors` button.
2\. This will bring up infra that will process your traffic.
3\. Check that you have `AKTO_NLB` var once setup is complete.
## Adding Akto traffic collector
1. Download the GitHub repo [here](https://github.com/akto-api-security/istio-filter) and `cd` into it.
2. Create your own Docker image of `istio-proxy` by running following commands:
```bash
docker build . -t :istio-proxy
docker push :istio-proxy
```
{% hint style="info" %}
Please make sure you are building docker image on the same platform as your app server.
{% endhint %}
3. Add this custom istio-proxy image to containers you want to collect traffic from. You can get the value of `AKTO_NLB_IP` from the dashboard itself.
```yaml
- name: istio-proxy
image: /istio-proxy:latest
env:
- name: AKTO_KAFKA_IP
# you will find this on your akto dashboard after you've deployed the Data-processing stack using Akto.
value: ":9092"
```
4. Re-apply the config to restart all your pods with the added `istio-proxy` container.
```
kubectl apply -f
```
5. Apply `akto-envoy-filter.yaml` to start capturing API calls and send to Akto dashboard.
```
kubectl apply -f akto-envoy-filter.yaml
```