> For the complete documentation index, see [llms.txt](https://docs.akto.io/llms.txt). Markdown versions of documentation pages are available by appending `.md` to page URLs; this page is available as [Markdown](https://docs.akto.io/traffic-connector/api-gateways/envoy.md).
# Connect Akto with Envoy
If your API calls are being routed through ENVOY, you can use Akto's ENVOY module to send traffic to Akto dashboard. This module can also be used with Istio service mesh, because it is based on ENVOY proxy. Below guide will help you do this:
## Creating AWS Policy
1\. Go to Quick Start on your Akto dashboard and expand the `Connect traffic data` section.
2\. Scroll down to `Data processors setup` section.
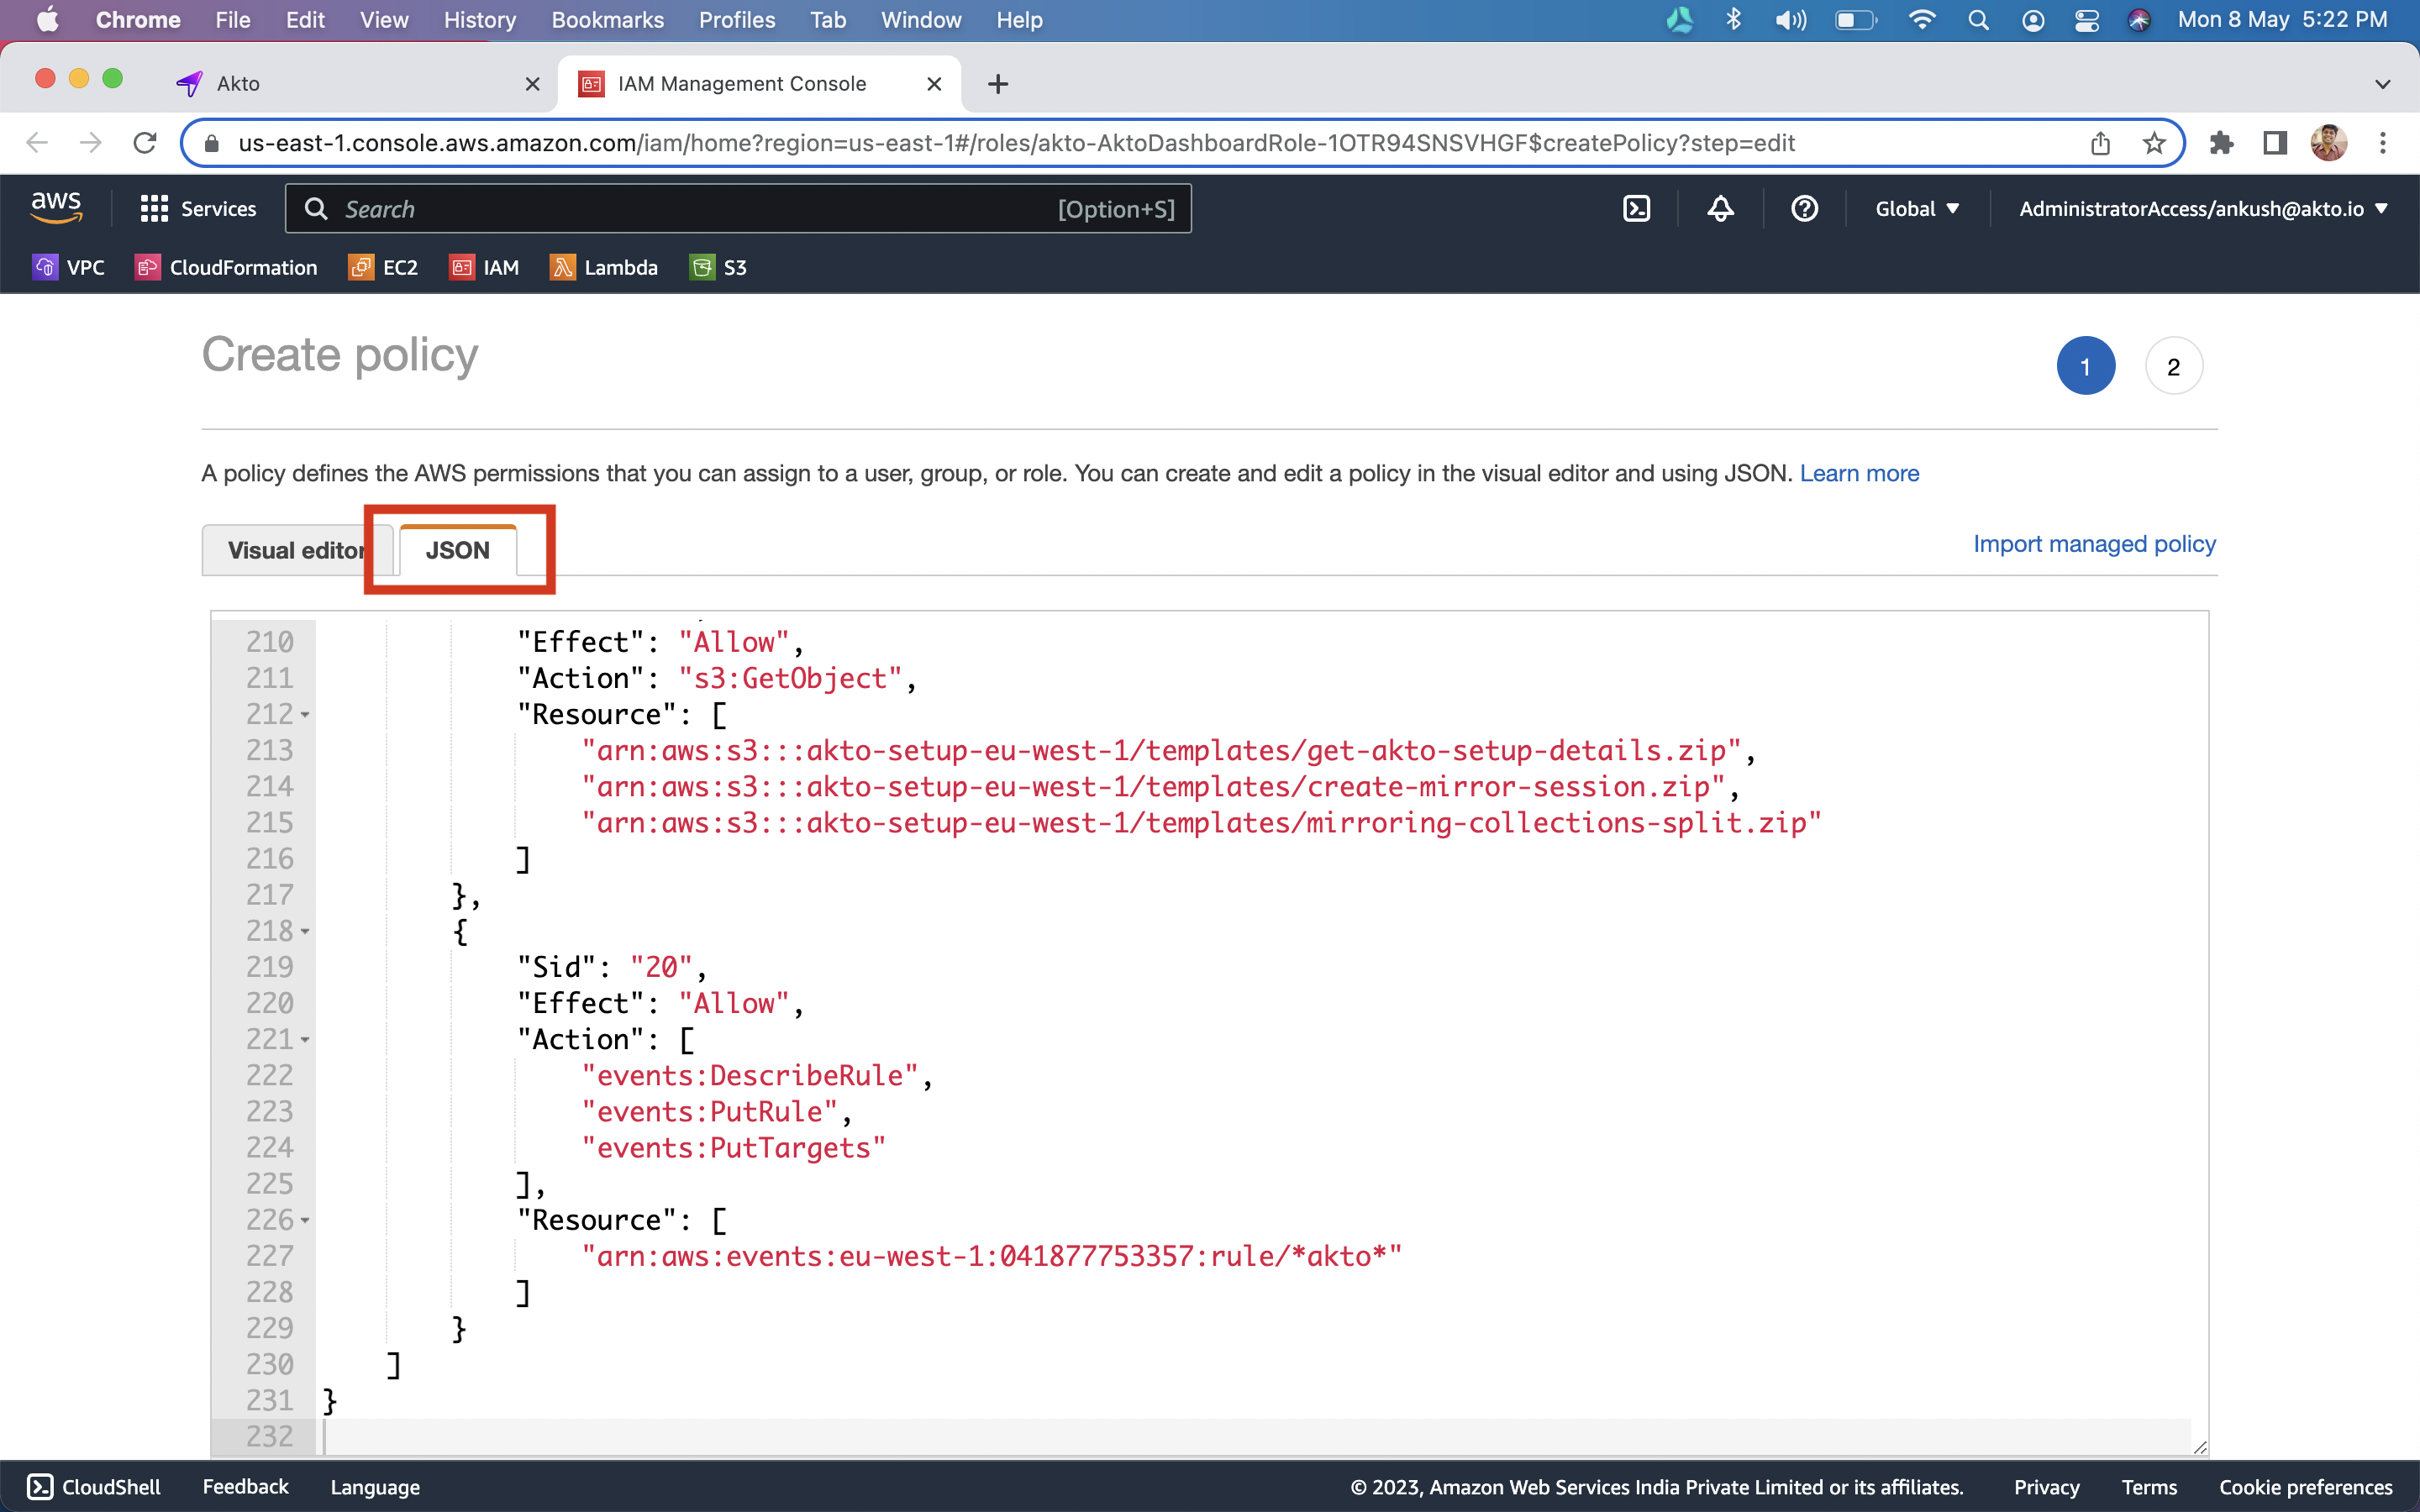
3\. Copy the `policy json` and click on the Akto Dashboard role link.
4\. `Click` on the `JSON` tab and `paste the policy`
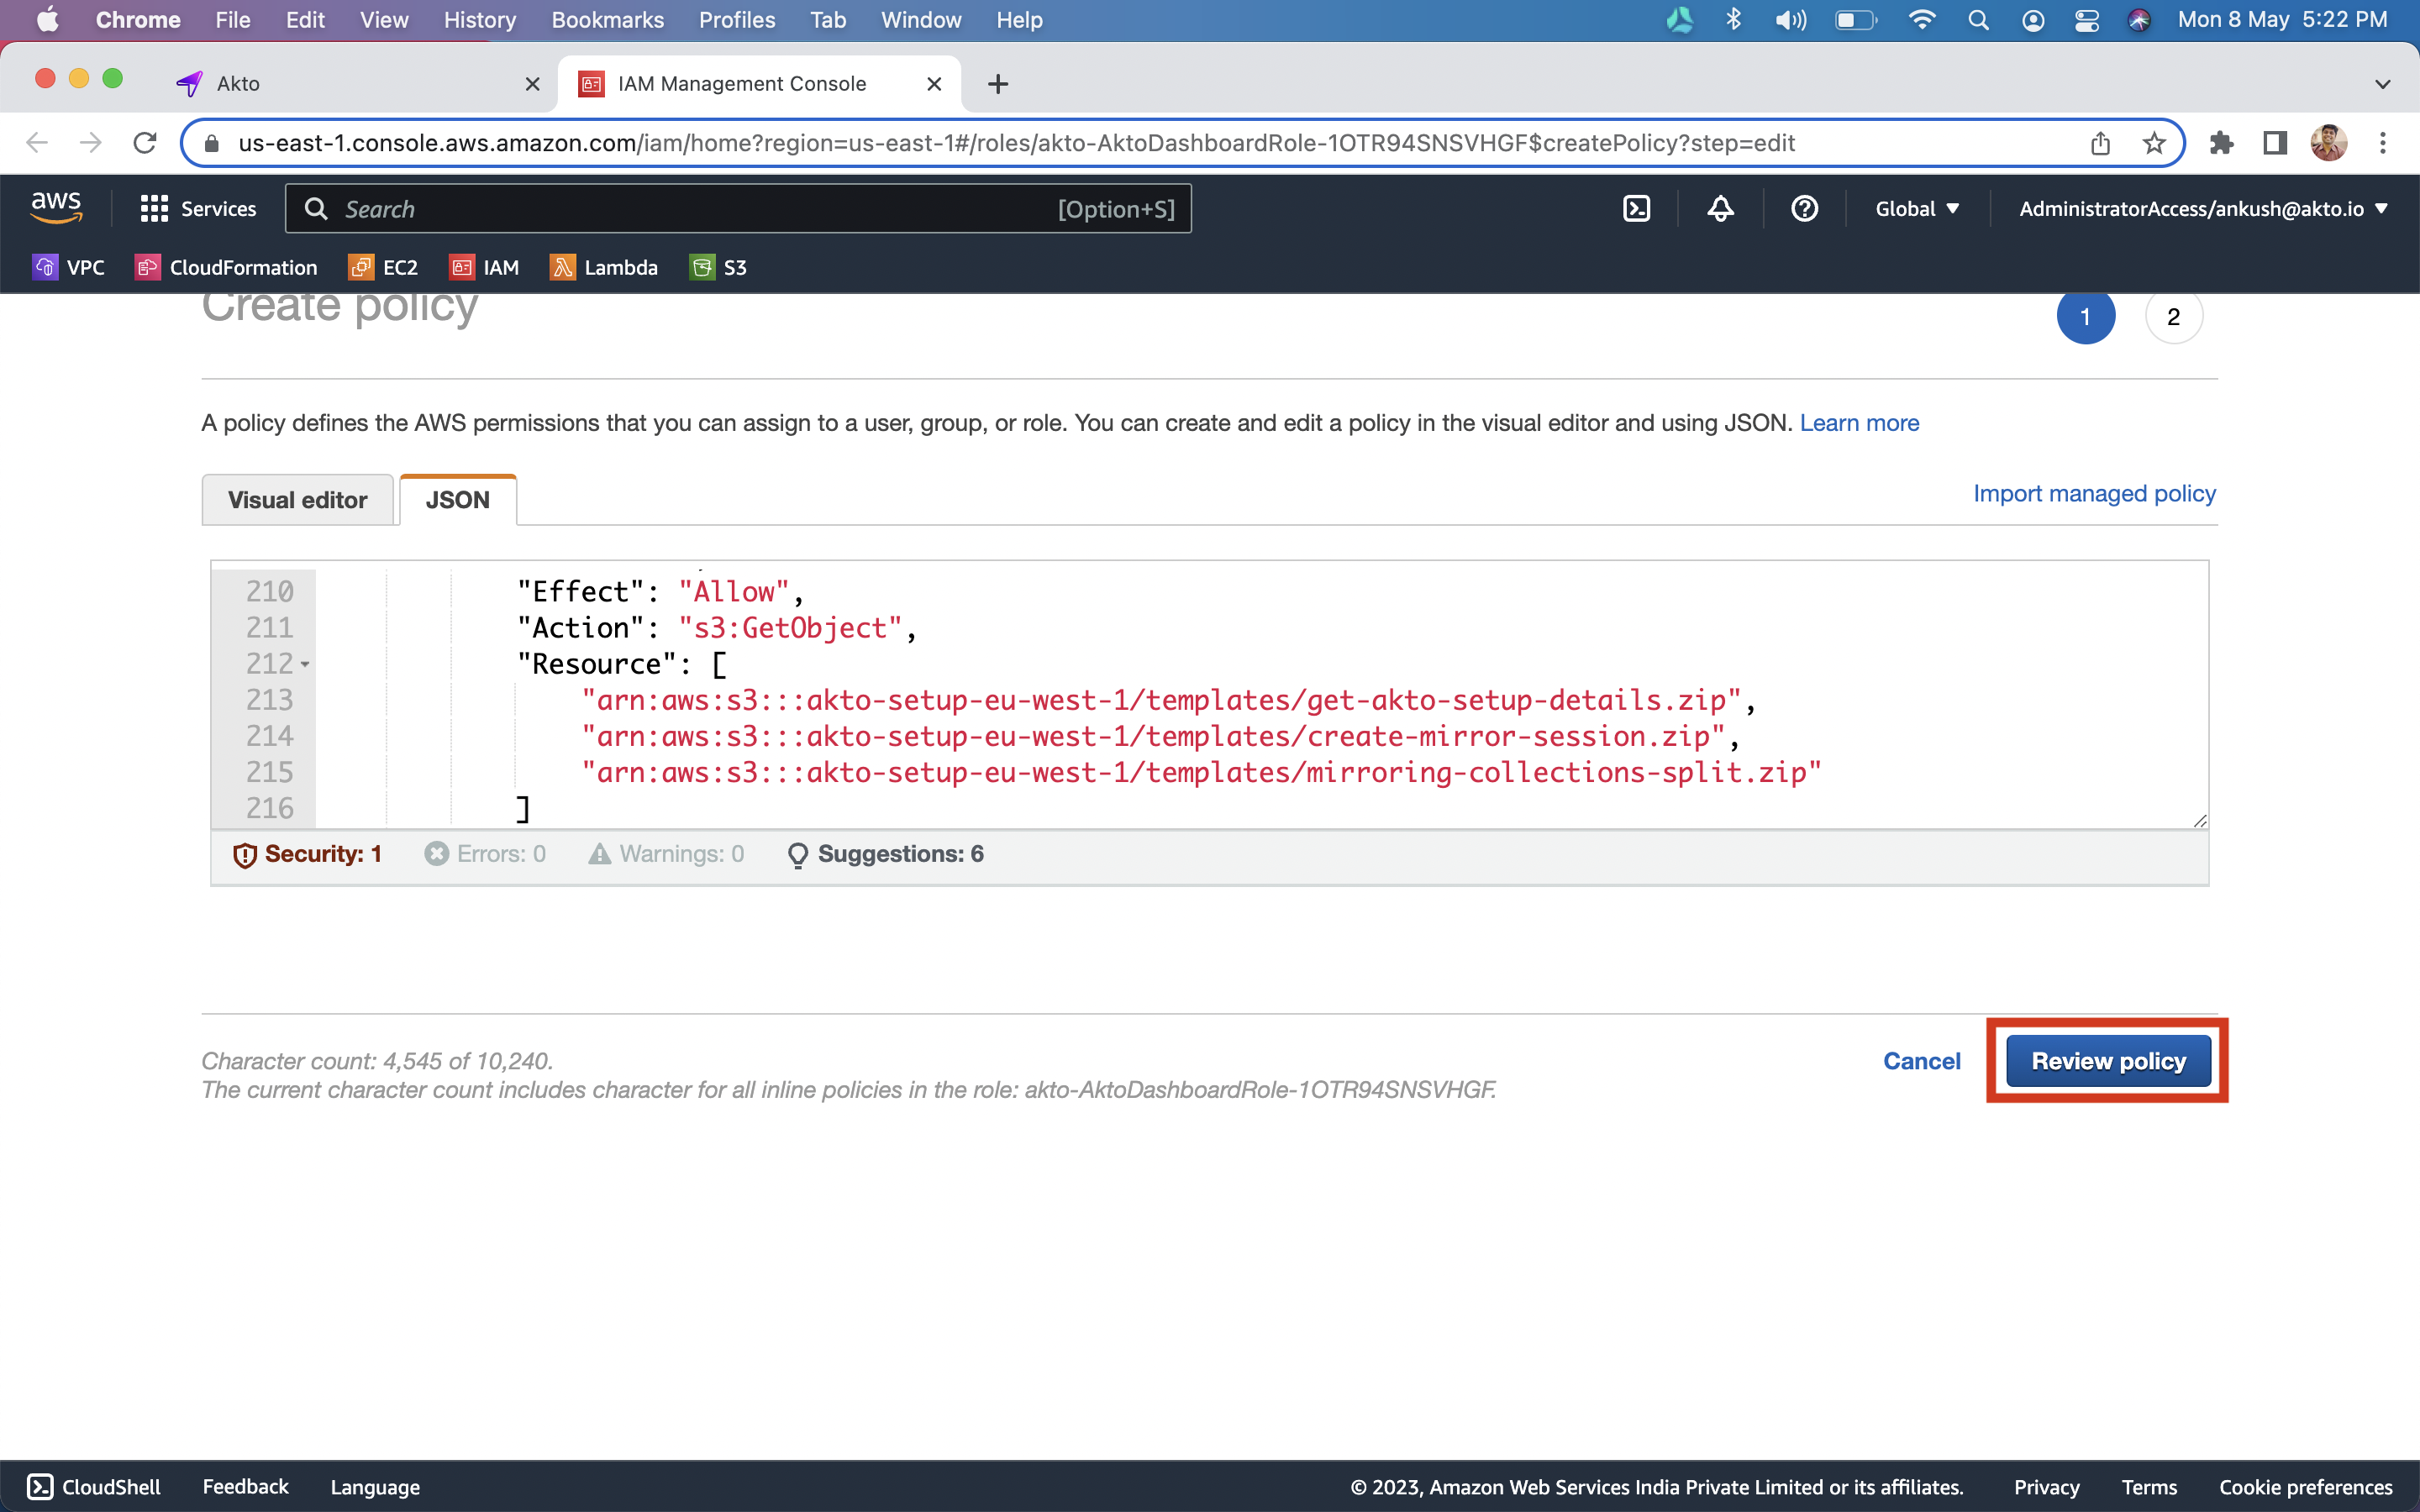
5\. Click on `Review policy` button.
6\. Enter *`AktoDashboardPolicy`* as the policy name and `click` on `Create Policy` button
8\. Once the policy is created, go back to the `dashboard`.
## Setting up Data processors
1\. Click on `Setup traffic processors` button.
2\. This will bring up infra that will process your traffic.
3\. Check that you have `AKTO_NLB` var once setup is complete.
## Adding Akto traffic collector
1. Download the following [repository](https://github.com/akto-api-security/envoy-module) to the folder with envoy.yaml file and rename it as "lib".
2. Add the following lines to the docker-compose.yaml file for the envoy proxy container.
```
COPY --chmod=777 ./lib/rdkafka /rdkafka
ADD --chmod=777 ./lib/aktoModule.lua /lib/aktoModule.lua
RUN apt-get update -y
RUN apt-get install librdkafka-dev luarocks -y
RUN luarocks install lua-cjson
```
3. Add the following lines to the envoy.yaml fie under the filters section.
```
http_filters:
- name: lua_filter_with_custom_name_0
typed_config:
"@type": type.googleapis.com/envoy.extensions.filters.http.lua.v3.Lua
default_source_code:
inline_string:
local aktoModule = require("lib.aktoModule")
aktoModule.sendToAkto()
```
4. Add an environment variable for AKTO\_KAFKA\_IP to the docker-compose.yaml file
```
AKTO_KAFKA_IP=:9092
```
5. Restart your envoy proxy container.