> For the complete documentation index, see [llms.txt](https://docs.akto.io/llms.txt). Markdown versions of documentation pages are available by appending `.md` to page URLs; this page is available as [Markdown](https://docs.akto.io/api-security-testing/how-to/set-up-json-recording-for-mfa-flows.md).
# Set Up JSON Recording for MFA Flows
Akto allows you to use Chrome Recordings to handle Multi-Factor Authentication (MFA) flows during API testing. This guide walks you through recording creation, adding your TOTP secret key, upload, and configuration for MFA-protected test roles.
***
### 1. How to Create Chrome Recording
To record an **MFA login flow**:
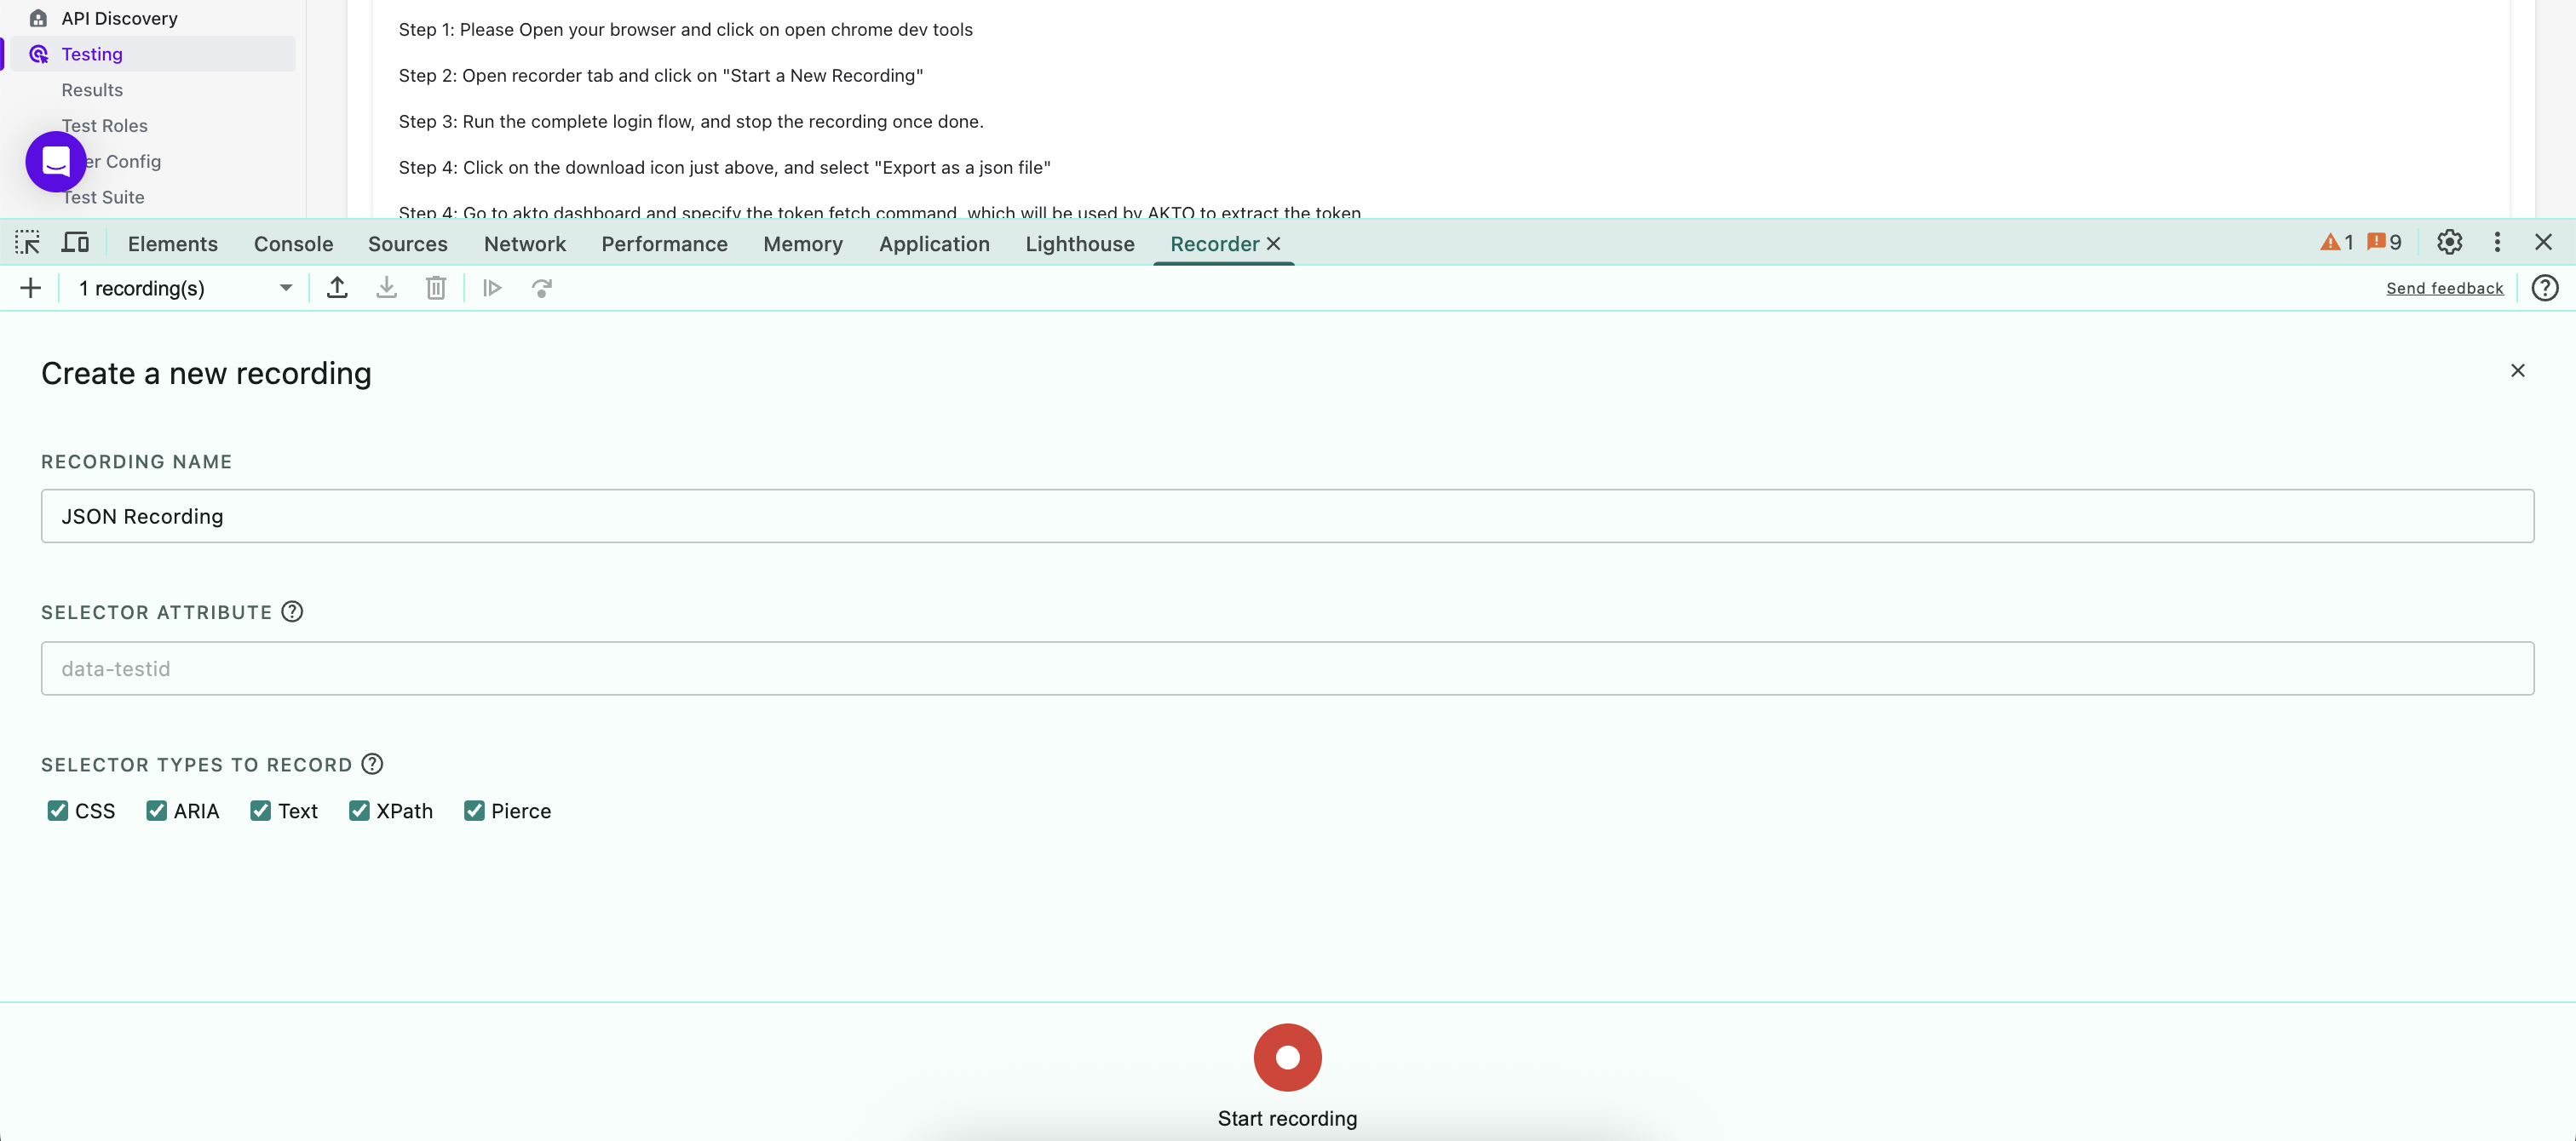
1. Open Chrome DevTools (`Cmd + Option + I` on Mac or `Ctrl + Shift + I` on Windows/Linux).
2. Navigate to the **Recorder** tab (enable from Chrome Experiments if hidden).
3. Click **"Start a New Recording"** and name the session.
4. Perform your complete **MFA login flow** — enter your username, password, and proceed through the MFA prompt (you can enter any valid TOTP code for the recording; Akto will handle TOTP generation at runtime using your secret key).
5. Stop the recording.
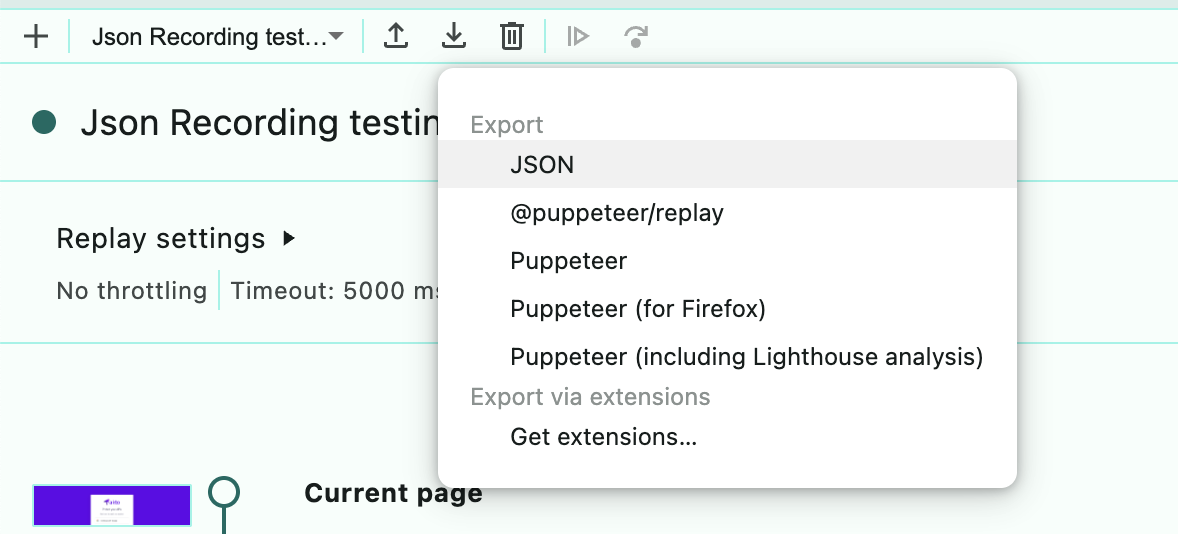
6. Click the **download icon** and select **"Export as JSON"**.
{% hint style="info" %}
⏱️ **Ensure all API calls, especially login/auth and MFA steps, complete within 40 seconds** to avoid timeout issues.
{% endhint %}
***
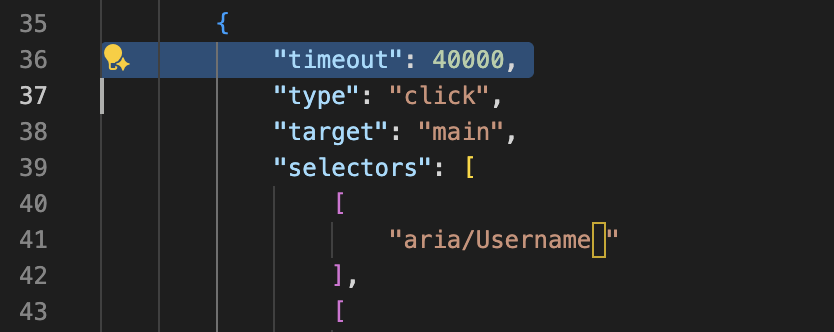
### 2. Add Timeouts of 40 Seconds
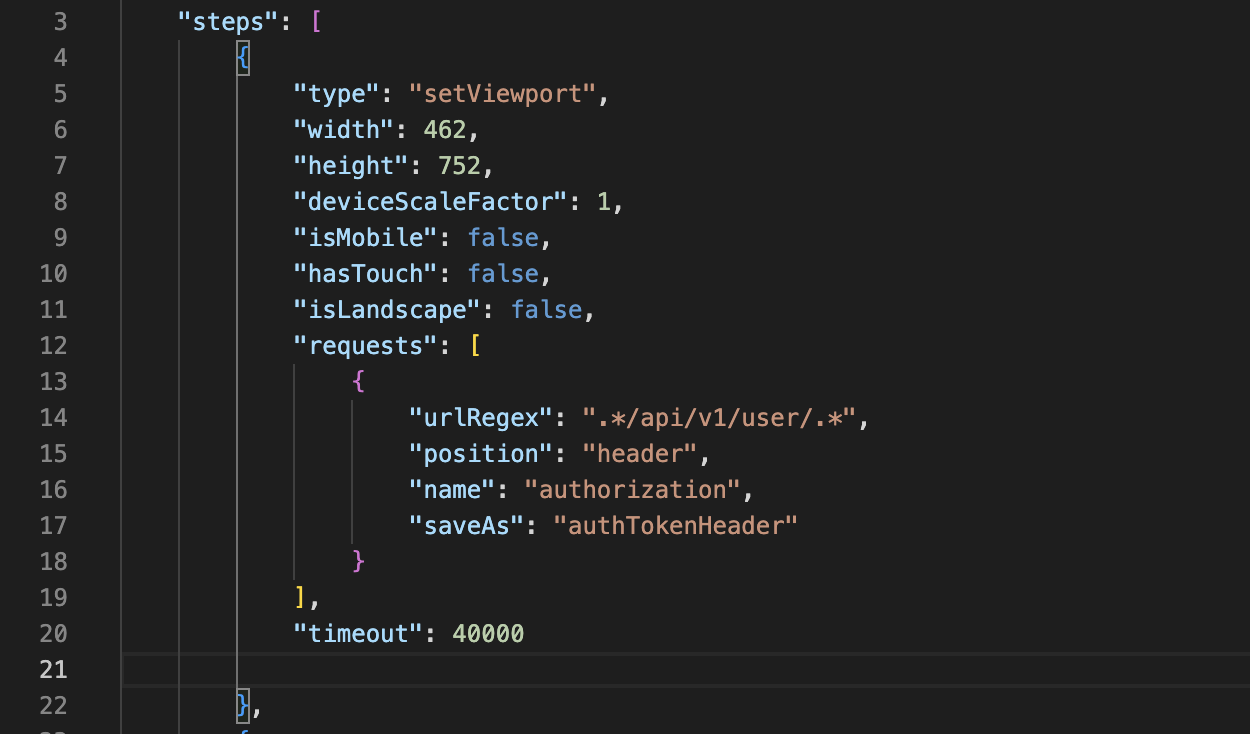
1. Add timeout in each step in the JSON
```
"timeout": 40000,
```
2. Each step in the Chrome recording session (especially the MFA flow) should complete in **under 40 seconds**.
***
### 3. Add Your MFA TOTP Secret Key to the JSON Recording
After exporting the JSON recording file, you must add your TOTP seed's **secret key** to the file so Akto can generate valid one-time passwords at runtime.
1. Open the exported JSON recording file in a text editor.
2. Add the `secretKey` field at the top level of the JSON object, alongside the `title` and `steps` fields:
```json
{
"title": "my-mfa-login",
"secretKey": "ABCD1EFGHIJK2LMNO",
"steps": [
...
]
}
```
{% hint style="info" %}
🔑 The `secretKey` is your TOTP seed secret — the same key used by your authenticator app (e.g., Google Authenticator, Authy). It is typically provided as a Base32 string when you first set up MFA for the account.
{% endhint %}
**Don't know your TOTP secret key?** If you only have the QR code (e.g., a screenshot from when MFA was set up), you can extract the secret key from it:
1. Go to .
2. Upload your MFA QR code image.
3. The decoded URL will look like:
```
otpauth://totp/MyApp:user@example.com?secret=ABCD1EFGHIJK2LMNO&issuer=MyApp
```
4. Copy the value after `secret=` — that is your `secretKey`.
{% hint style="warning" %}
⚠️ Keep this file secure. It contains your TOTP secret key and should not be shared or committed to version control.
{% endhint %}
***
### 4. Intercept and Locate Auth Tokens / Cookies
Observe where auth tokens are being used in your application after a successful MFA login.
* If your auth tokens are present in a cookie, Akto will record it automatically.
* If your auth tokens are part of headers (e.g., `authorization` or `x-csrf-token`), you should tell Akto how to record these tokens during login.
You can configure which API would have these tokens. For example, if your token is present in the `authorization` header in `/api/v1/user/details`, add the following to the first section of your JSON:
```json
"requests": [
{
"urlRegex": ".*/api/v1/user/.*", // you can use regex too to match more than 1 API
"position": "header",
"name": "authorization",
"saveAs": "authTokenHeader" // we will use this variable name later
}
],
```
> The `authTokenHeader` value will be returned as `cookieMap` under `aktoOutput.authTokenHeader` object
***
### 5. How to Write Command to Extract cookieMap or Auth Token
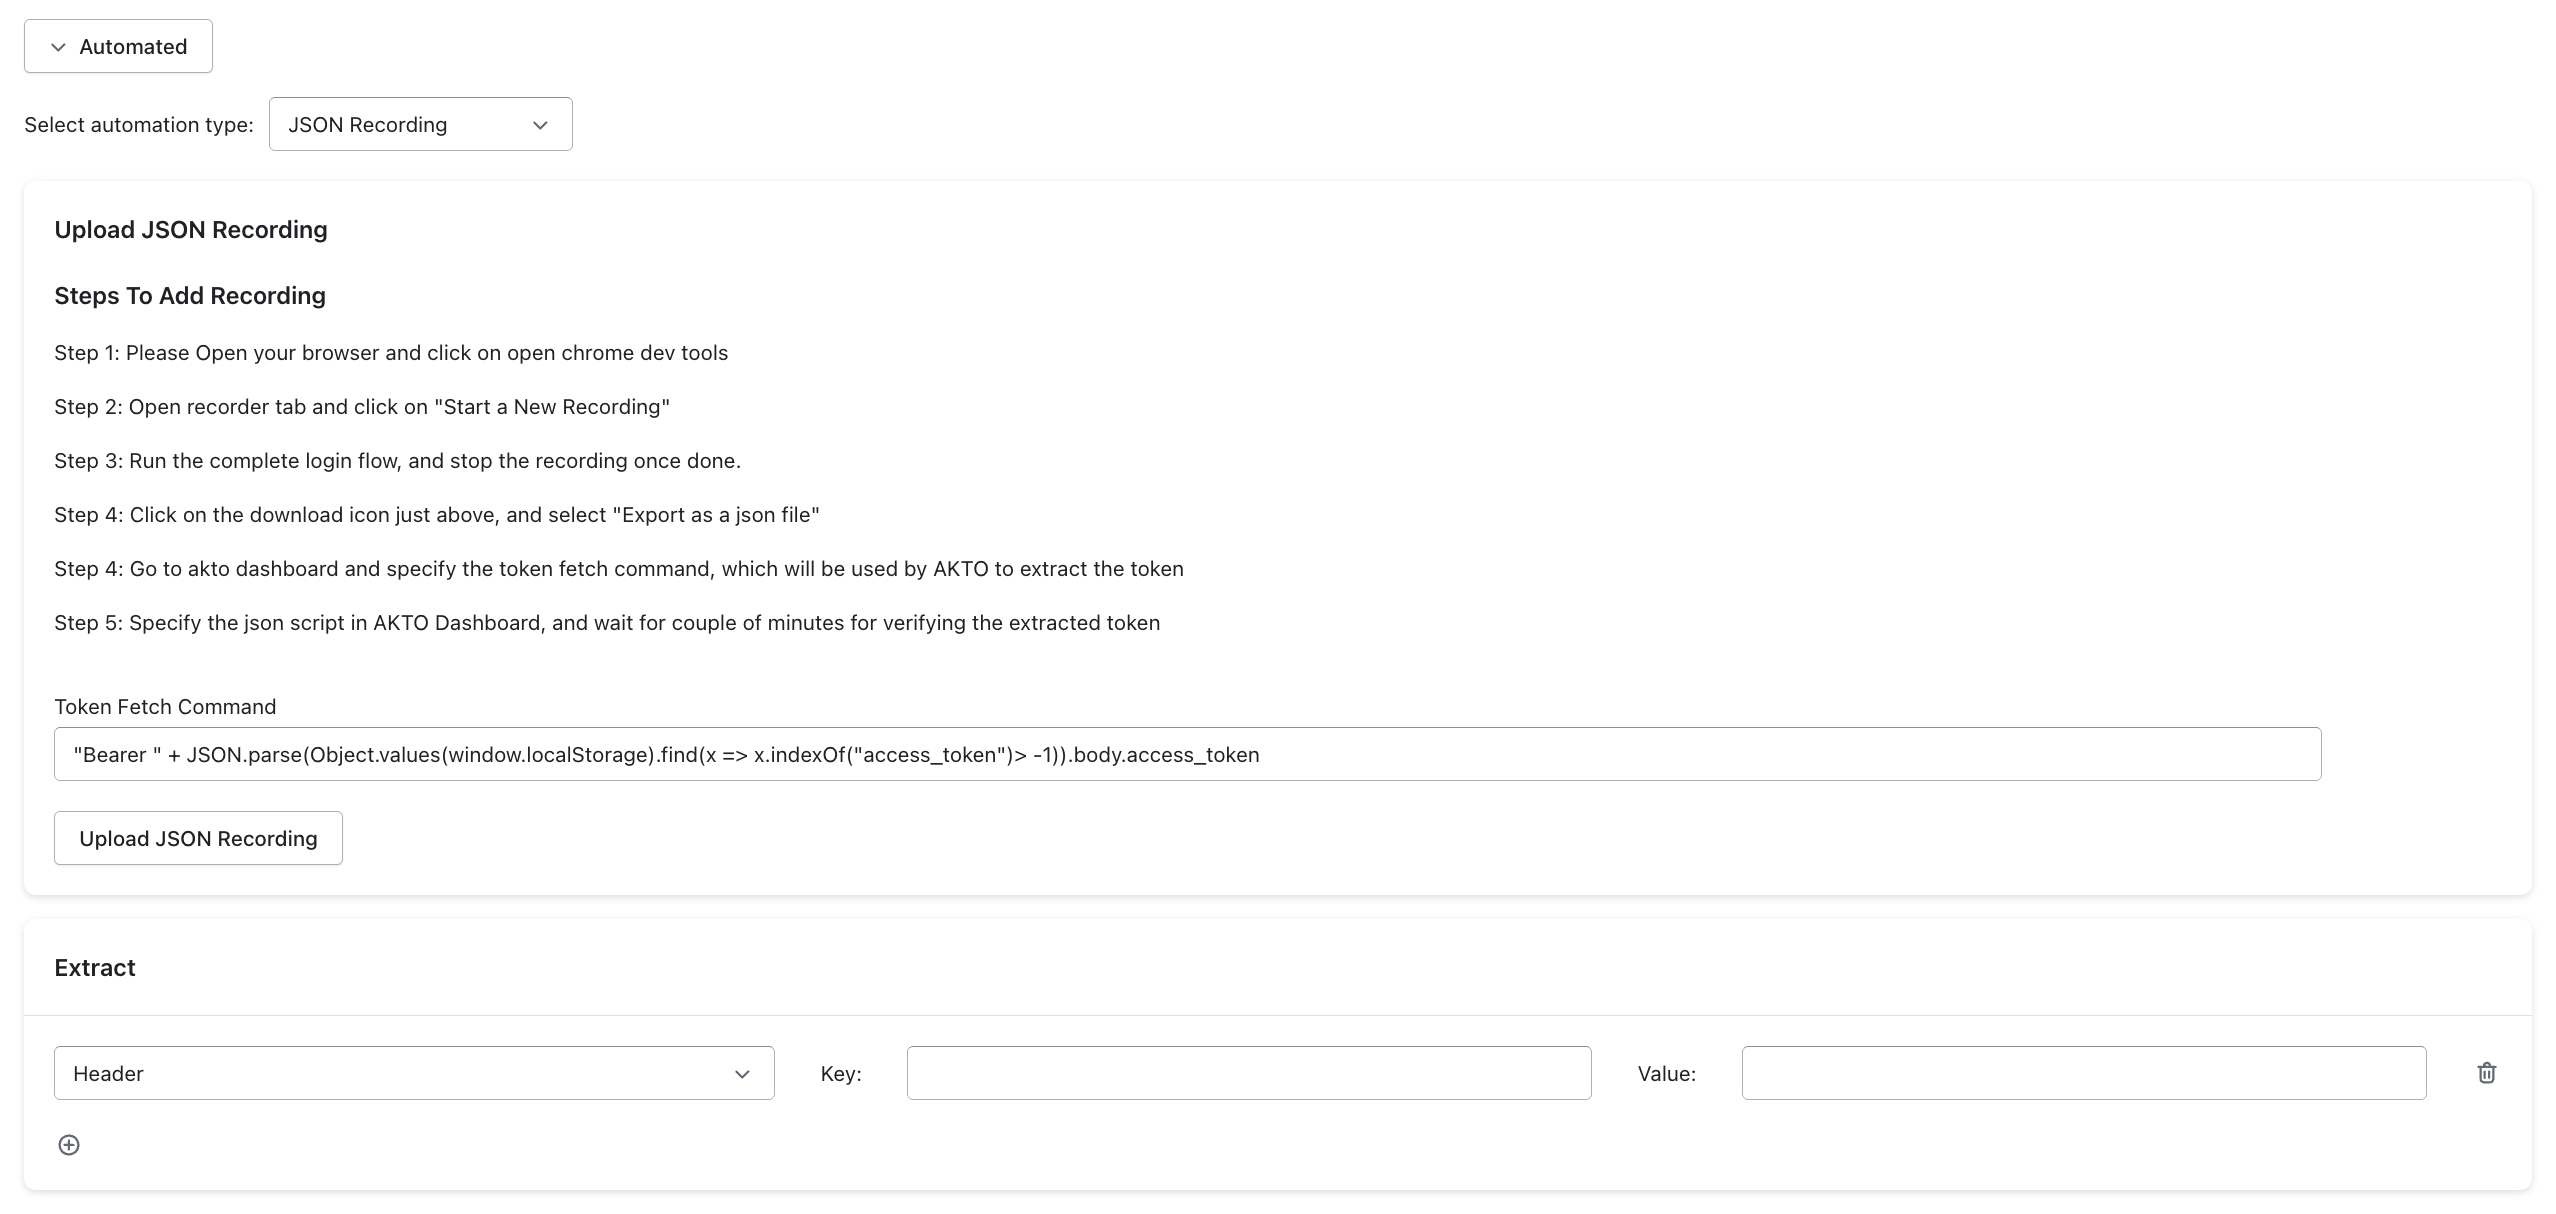
Paste the appropriate **JavaScript command** into the **Token Fetch Command** field in Akto.
**✅ To extract all cookies as a header (including header-based auth token as described in step 4):**
```js
Object.entries(cookieMap).map(([key, value]) => `${encodeURIComponent(key)}=${encodeURIComponent(value)}`).join('; ')
```
**✅ To extract, say, `access_token` from localStorage:**
```js
"Bearer " + JSON.parse(Object.values(window.localStorage).find(x => x.indexOf("access_token") > -1)).body.access_token
```
***
### 6. How to Upload Chrome Recording
1. Go to **Akto Dashboard > Testing > Test Roles**.
2. Paste a **Token Fetch Command** to extract the token or cookie (step 5).
3. Click **Upload JSON Recording**. Select the updated recording file (with `secretKey` added in step 3).
4. Akto will use your TOTP secret key to generate one-time passwords and complete the MFA flow automatically during testing.
5. Akto will extract and verify the token/cookie within a couple of minutes.
***
After the token is fetched, define how Akto should use it for authentication.
1. Scroll to the **Extract** section.
2. Choose the source:
* `Header` — to send the token in a request header (e.g., `Authorization`)
* `Body` — if the token must be sent in the request body
3. If you want to extract a cookie and use it as the auth token, do the following:
1. **Key**: `Cookie`
2. **Value**: `${x1.response.body.token}`
4. If you want to extract a token using step 4 from a different header, please set the following:
* **Key**: `Authorization`
* **Value:** If you are extracting tokens using step 4 above, use `${x1.response.body.aktoOutput.authTokenHeader}` to extract the token
***
### Get Support for your Akto setup
There are multiple ways to request support from Akto. We are 24X7 available on the following:
1. In-app `intercom` support. Message us with your query on intercom in Akto dashboard and someone will reply.
2. Join our [discord channel](https://www.akto.io/community) for community support.
3. Contact `help@akto.io` for email support.